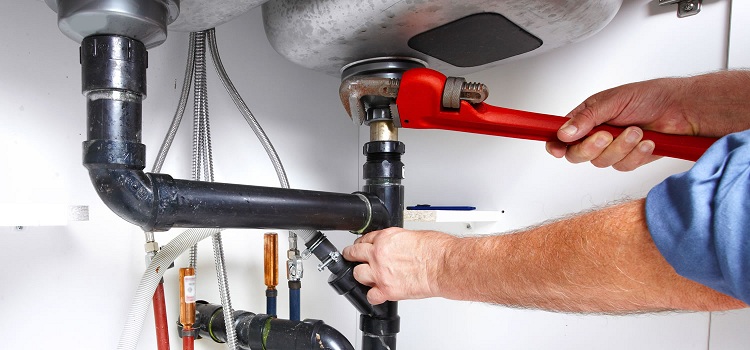
Plumbing equipment must be equipped with a siphon. Through it there is a drain of drains. The device reliably blocks the gases accumulating in the sewer, preventing their penetration into the room. In essence, it is a hydraulic shutter that allows fluid to pass through and blocks gases through a water plug. The drain siphon for the sink is high enough, so its dimensions are not very important during installation.
Content
- 1 Advantages and disadvantages of bottle siphons
- 2 Tubular and corrugated siphon types
- 3 Complete set and materials for manufacturing
- 4 How to choose a sink siphon
- 5 Choose siphons for sinks
- 6 How to assemble a sink siphon
- 7 How to install a sink siphon
- 8 Double siphon for the kitchen sink: selection and installation
- 9 Installing a siphon for a mini-sink
Advantages and disadvantages of bottle siphons
Before proceeding with the search for suitable equipment, you should decide what type will be installed. Four types of siphons are distinguished, of which the most common is bottle siphons. The name is given because in the area of the water seal the design takes the form of a bottle. The bottle type has received the greatest distribution, although it differs in the most complex device in comparison with others. Preference is given to this type because of its undoubted advantages:
- compactness, it is easy to install in a confined space;
- ease of installation combined with ease of disassembly. Therefore, it is not difficult to clean the structure, it will not require significant time .;
- objects accidentally slipping inside will not be lost, but will sink to the bottom of the bulb;
- only it allows integration with overflow and input for the washing machine.
It's important to know! A noticeable design flaw: contaminants accumulate at the junction of the water flow that has passed through the glass into a straight section.
A variation on the design of the bottle type can be considered a hidden type of siphon. The glass is built into the wall, only a horizontal tube comes out. This is an expensive device and it is rarely used.
Tubular and corrugated siphon types
Pipe. This is a rigid pipe, it is curved in the form of Latin letters S or U. The design of the pipe siphon can be collapsible or non-collapsible. There are models equipped with an opening stopper at the lower point so that you can clean the drain. The rigidity of the pipe structure places high demands on assembly accuracy. The drain hole of the washbasin and the inlet in the sewer should be more precisely aligned.
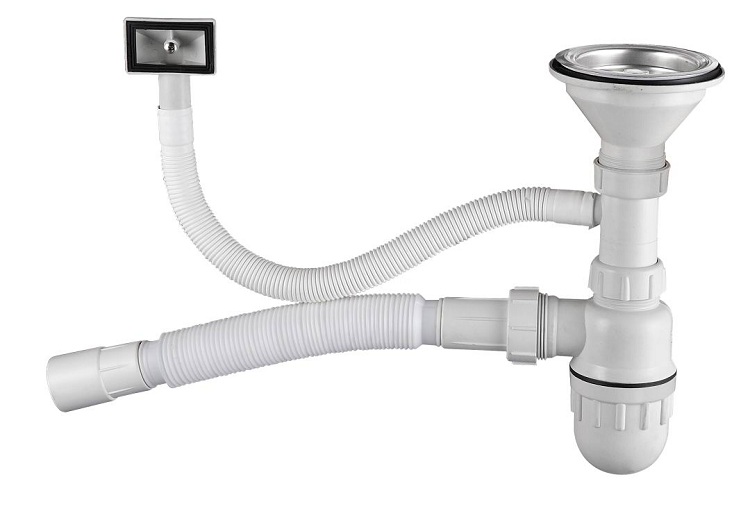
The flexible pipe of the corrugated siphon can be bent, if necessary, as desired. This is important if it is problematic to connect to the entrance to the sewage system. The absence of intermediate compounds reduces the likelihood of leakage. The slope to create a water lock is formed by simply manually bending the tube. Low cost and ease of assembly are the obvious advantages of a flexible drain siphon for a sink. The disadvantage that one has to put up with is caused by the flexibility of the corrugated structure. Roughness of the surface leads to the accumulation of deposits on it, requiring cleaning.
Complete set and materials for manufacturing
Standard equipment for a drain siphon includes:
- protective grille or mesh with holes up to ten millimeters in diameter;
- rubber pads. Their thickness is 3-5 mm. In expensive models, gaskets are white, and not the usual black;
- branch pipe, branch or exhaust, for installation of a laying. He has two or three embossed rings and a small side. In some models, the nozzle is equipped with a layering to connect a washing or dishwasher;
- connecting screw with a diameter of up to eight millimeters. It is strongly recommended that you choose a model with a stainless steel screw;
- housing;
- nuts
- branches to the sewerage.
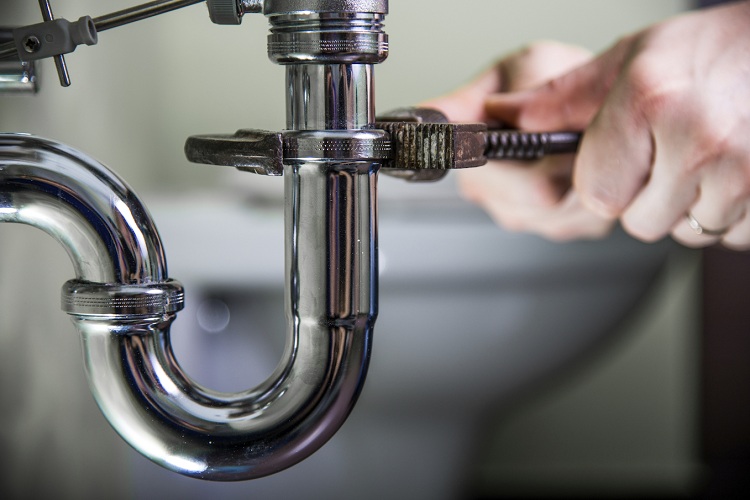
Siphons can be stainless, copper or polymer - these materials are corrosion resistant and their products are durable
The design must be resistant to chemical and thermal influences. Therefore, plastics and metals are used for its manufacture.
Plastic, polyethylene or polypropylene samples are cheaper and simple to arrange and assemble. Polypropylene parts are tougher, they retain their shape and stability better. Having connected the washing machine, it should be remembered that you will soon have to tighten the threaded connections so that there are no leaks.
Helpful information! Stainless steel devices are expensive and not common. Brass and bronze have a galvanic coating, so they are not oxidized, resistant to corrosion and durable.
How to choose a sink siphon
When deciding which model of sink siphon to choose, a combination of several factors must be taken into account. Be sure to take into account:
- the price. It does not determine the quality of the device, although it reflects the duration of the operation;
- aesthetics. In the washbasin without a pedestal, the chrome-plated parts will be visible and will create a certain impression. If there is a pedestal, they will be hidden, their aesthetic perfection will be inaccessible to the vision;
- neck diameter;
- the presence of overflow;
- whether a washing machine or dishwasher will be connected, for which an additional drain is required;
- what horizontal distance separates the neck from the sewer outlet;
- Is the issue included
- location relative to the sewer outlet. If the displacement exceeds 2-4 cm, it is advisable to install a corrugated siphon or bottle with a flexible pipe;
- the inlet pipe of the siphon should not have a diameter larger than that at the entrance to the sewer. Better that they match. With a smaller value of the diameter of the inlet tube, an adapter is needed.
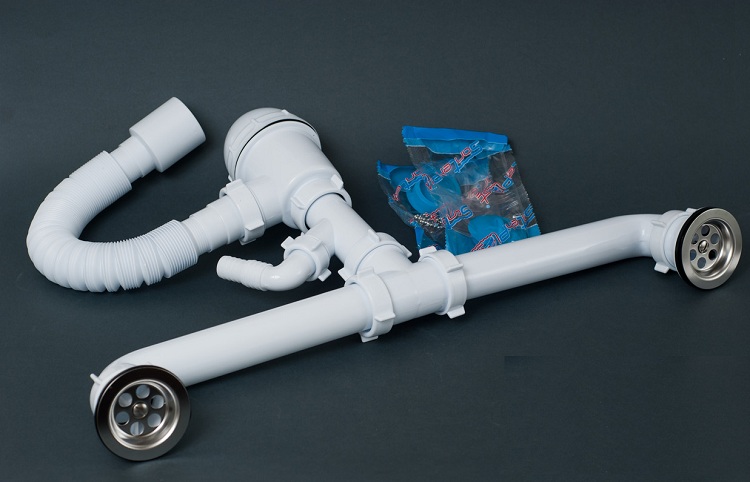
The choice of siphon depends on the design features of the sink or sink and the need to connect household appliances to the drain system
Choose siphons for sinks
The sink has a number of features that are taken into account when selecting a siphon:
- a sink can have not one section, but two or three. One section for washing vegetables is flat, the other two are deep, with overflow (top drain). At the kitchen sink, it enters the siphon through an external pipe. In other designs, an overflow protector against accidental flooding goes directly to the outlet. The presence of a release in the washing set is an indirect sign of the quality of this equipment;
- the distance from the center of the sink to the wall is quite significant;
- at the neck of the sink, the diameter is larger than the corresponding hole in the washbasin;
- a dishwasher may be installed, for the connection of which an additional side entrance is required.
An ordinary, simplest sample may not be suitable for washing. It should be calculated how many drain flows will be combined in one design.
How to assemble a sink siphon
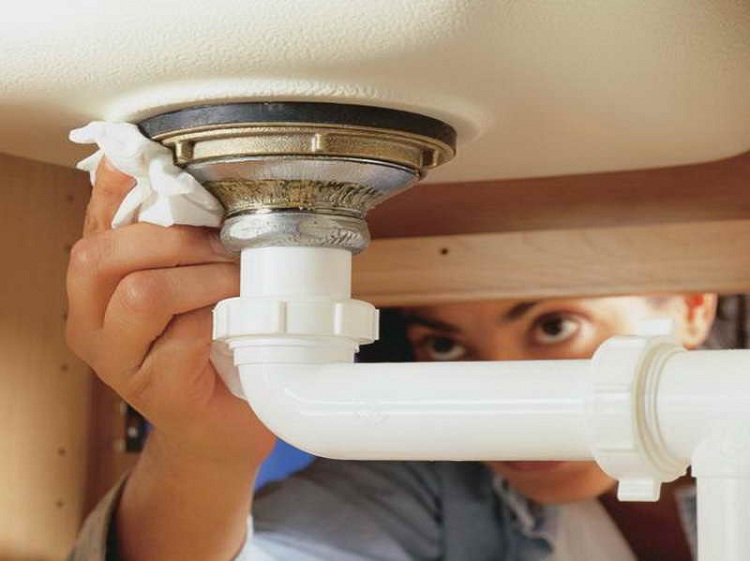
The assembly of any sink siphon will have to be preceded by dismantling the old design. And do not forget at the same time to put a basin under it, so as not to collect the spilled liquid with a not very pleasant smell.If it was not immediately possible to unscrew the attached screw in the center of the drain grate, then first remove the bottom of the siphon. Only the pipe remains. By turning, it is usually possible to loosen the screw and nut. After removing the old design, carefully drain the drain hole.
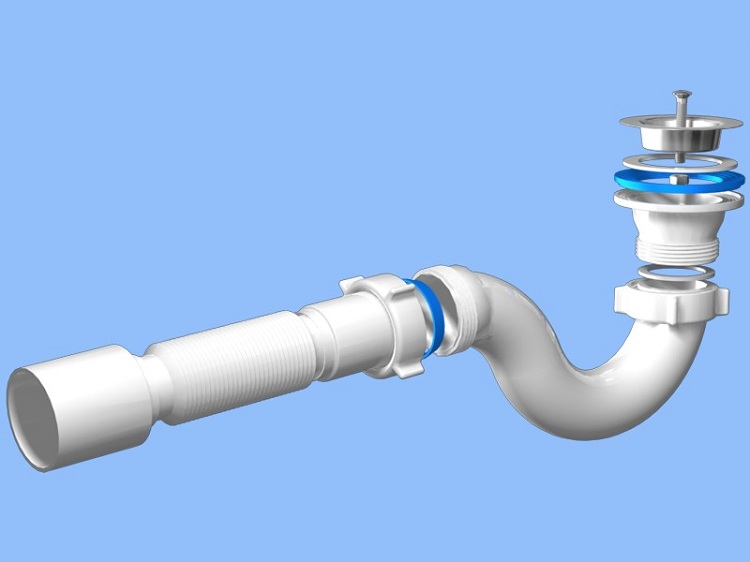
Siphon assembly is a fairly simple undertaking, but special attention should be paid to the installation of all gaskets that are included with the product.
Assembly sequence:
- The largest flat gasket is placed on the largest siphon hole. The cap-cap is screwed to the side.
- A union nut is put on the pipe, then a conical gasket is pulled up with a blunt end. The pipe is inserted into the upper hole and tightly enough, but not pinching, twists. (Some models also provide for connecting the pipe to the drain funnel).
- (Only applies to sample assembly with overflow). The overflow is connected to the branch pipe. First, a nut is thrown, then a ring gasket. It is placed with a blunt end to the overflow. The overflow is inserted into the branch and the nut is tightened.
- On the corrugated pipe, similar to the previous step, a union nut and a conical gasket are put on. The pipe is screwed to the siphon, completing the assembly.
Important! When assembling, in order not to damage the gaskets and threads, do not overtighten the parts.
How to install a sink siphon
Having successfully completed the assembly, they proceed to the installation. The sequence of operations is as follows:
- An o-ring with corrugation is superimposed on the siphon pipe with strips up. The remaining ring is pulled onto the metal grill.
- A metal grill with a ring is placed on top, above the sink. Adjust the siphon under the drain hole of the sink, gently hold and level.
- Screw is screwed into the grate.
- The assembled device is connected to the sewer using a rigid pipe or corrugated. The use of corrugated pipe is simpler. It is stretched to the desired length. It will take longer to tinker with the installation of a rigid pipe, but it is more reliable and durable.
- Verification The design is filled with water, creating a water seal. With proper assembly and installation, leaks are eliminated.
Double siphon for the kitchen sink: selection and installation
If a single siphon does not fit, we select a double one. It can have one or two levels. The flask (or bend, in the design of the pipe type) in which the water settles will be either in the center between the sinks (sinks) or shifted to the side.
In a single-level system, the structure is assumed to be directly under one of the washing sections. A pipe extending from it is connected at an angle to a pipe connected to the discharge of the second section. In a two-level system, pipes connected to sink drains are connected in a flask located in the middle between sinks. Double designs can be equipped with overflows.
The installation has a number of nuances associated with connecting a larger number of parts:
- A grill is screwed onto each drain.
- Nuts are installed to the drain holes with the help of nuts.
- The discharge pipe is connected to another, to which the sump belongs. For the future, you can install an additional challenge.
- The sump is fixed on the unifying pipe. You will need rubber gaskets and special screws. Processing with non-acidic silicone sealant will increase the reliability of the seal.
- The outlet pipe is connected to the sewer system.
- Verification
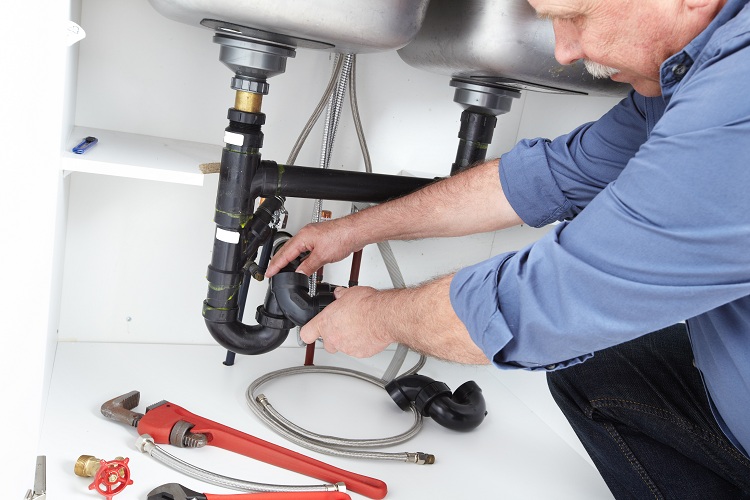
The kitchen is often equipped with a double sink, but installing a double siphon for it is similar to installing a single device
Installing a siphon for a mini-sink
Mini sinks are often installed. This is due not only to the small size of the bathroom or toilet.In addition to excellent functionality, they are elegant and elegant, fit well into the design of the room and do not clutter up the space. Naturally, you should choose only small siphons for such sinks, so as not to spoil the overall aesthetic impression. When choosing a suitable device, they are guided by general considerations regarding the quality of the product. The exception, of course, are the original size requirements. The assembly and connection of this design does not have any technological features.
Important! The installation process will require special care due to working conditions: small dimensions of the installed structure and limited space. All fastenings and joints must be securely fixed, connections - securely sealed.
Siphons for sinks are simple devices that seamlessly and reliably serve human household needs. They do not differ in design complexity, do not require special knowledge and special tools for assembly and installation. At the same time they can work perfectly, without needing special care. In order for them to work, justifying our expectations, we should responsibly approach the choice of the necessary type of product. And make sure that the simple rules of assembly, installation, maintenance and operation are not violated.
